How to Sew an 18 inch Doll Dress | Learn to Sew a Dress for American Girl Dolls | Free 18 Inch Doll Dress Pattern | Easy Sewing Projects
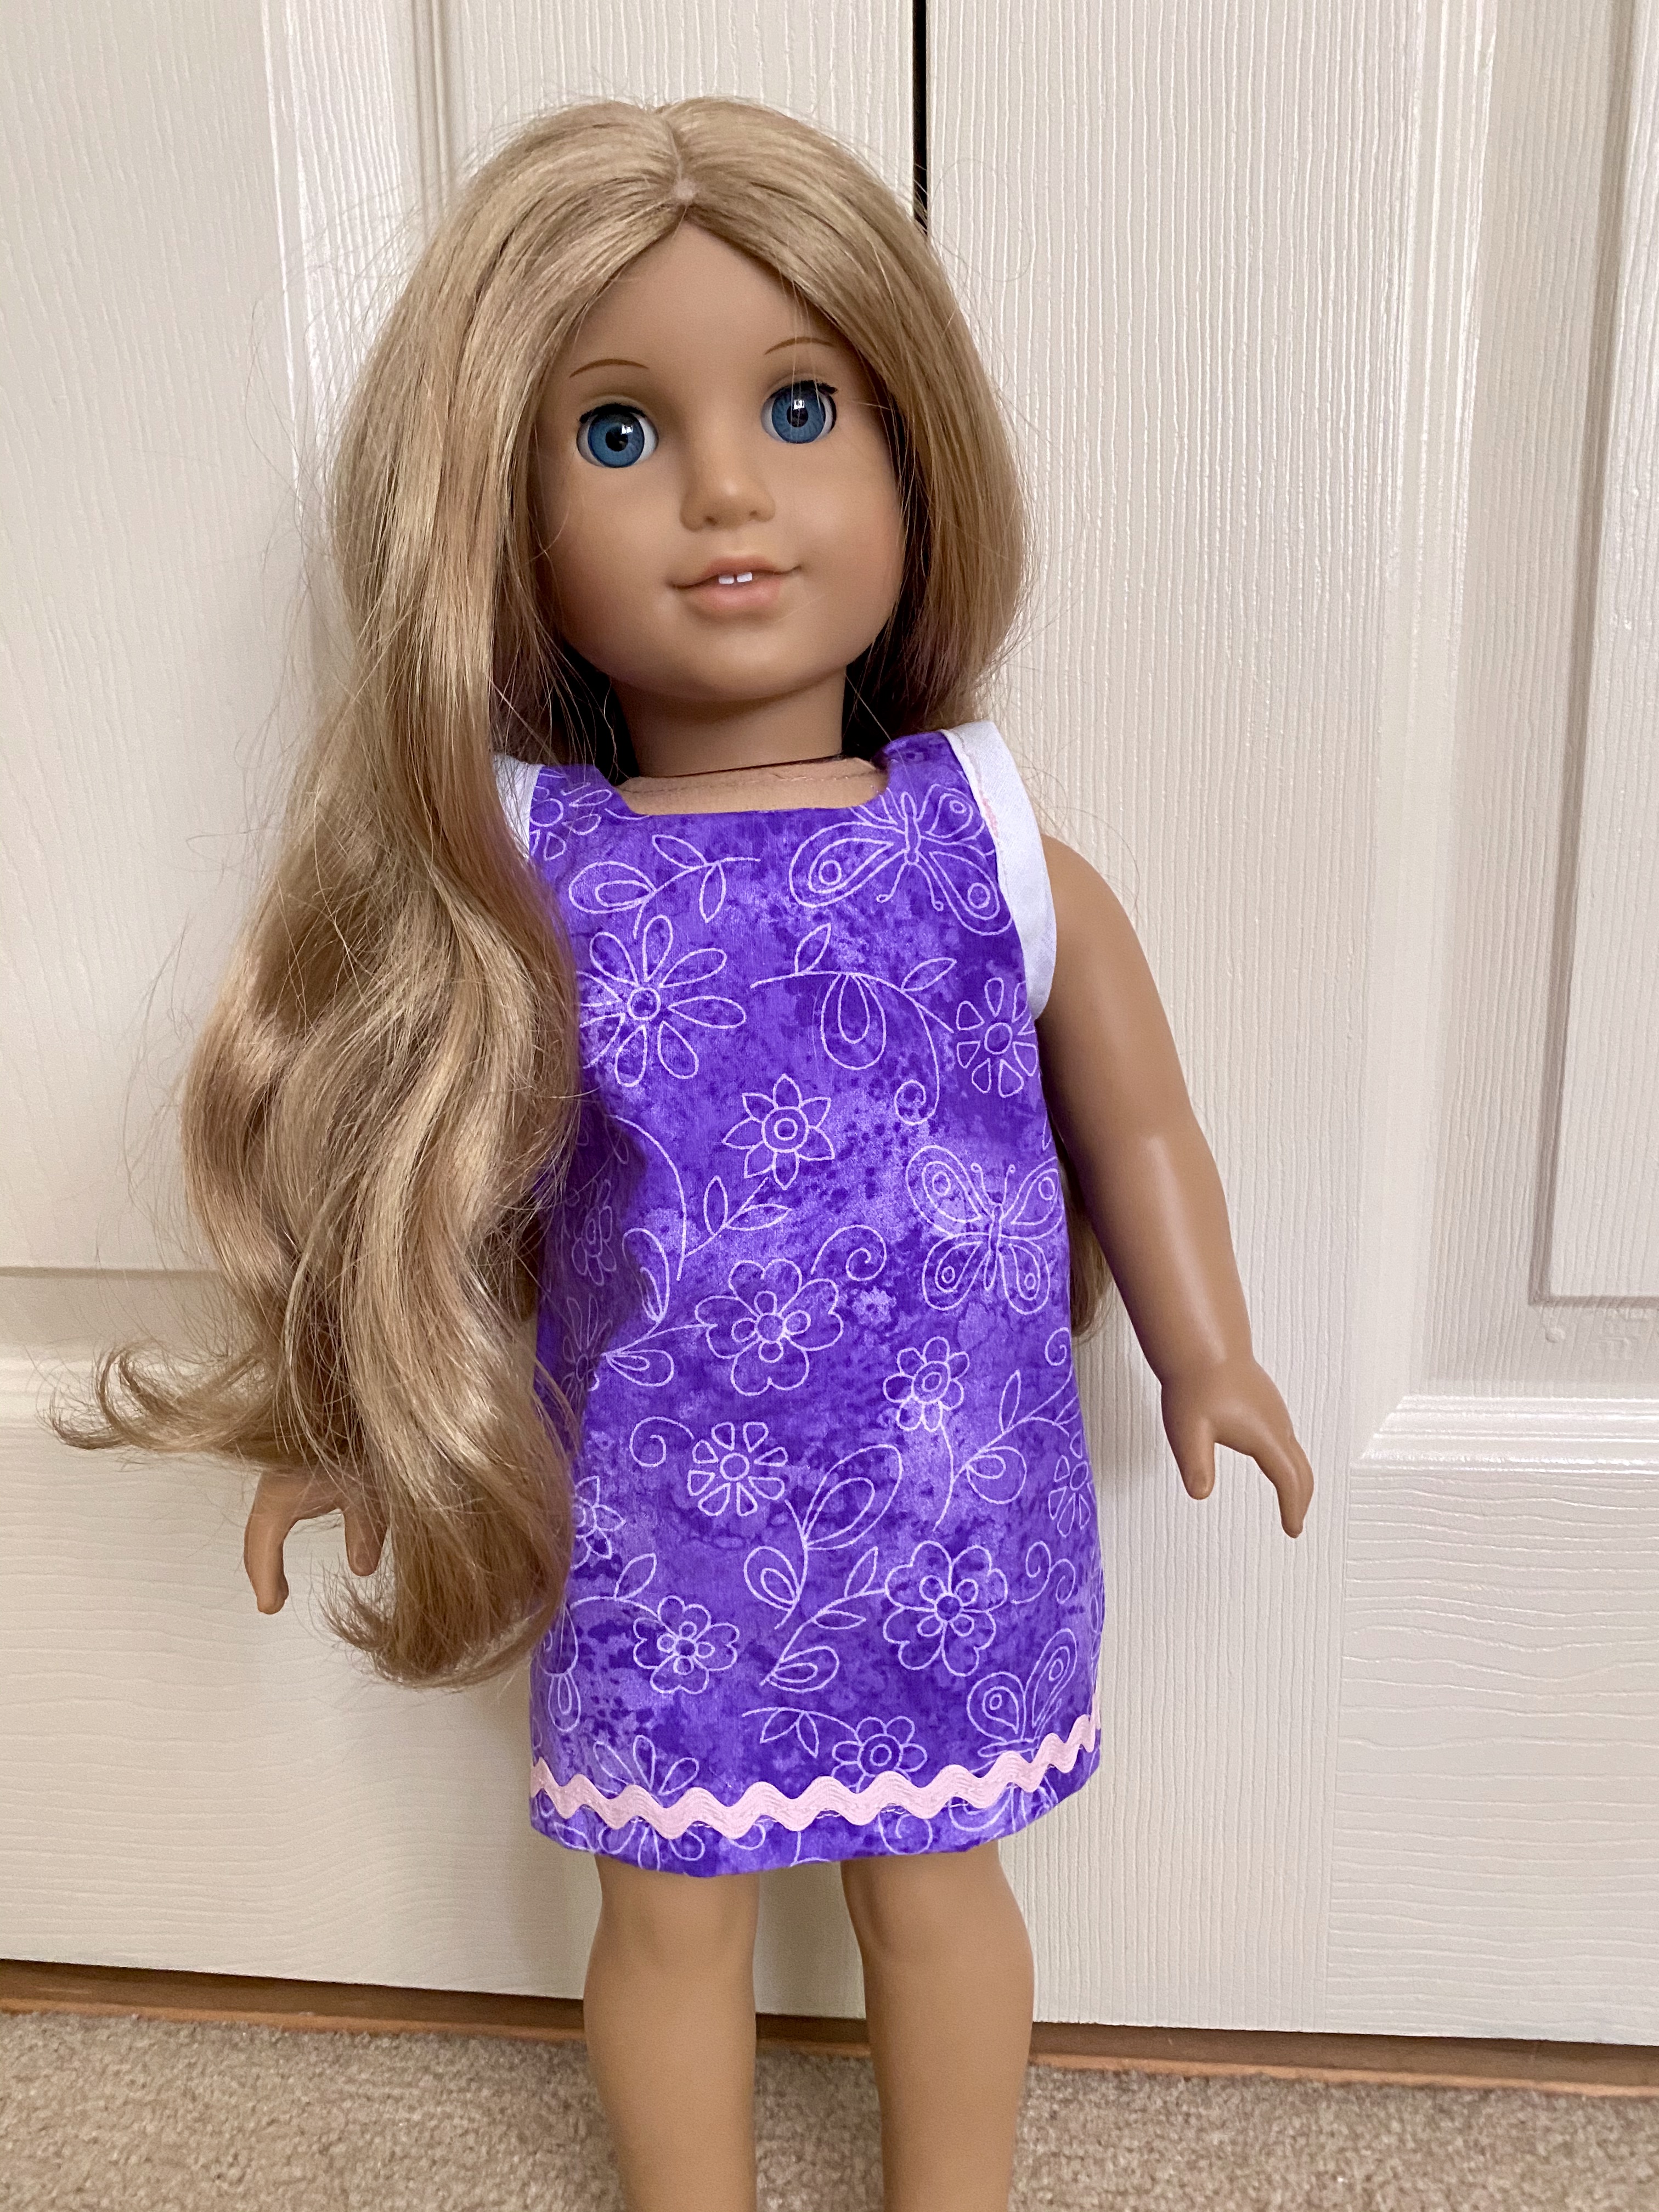
This is the third in our 18 inch doll clothes series! I always liked making dresses for American Girl dolls as it is a one piece outfit! They are so simple yet you can decorate them to make them look as elegant or fancy as you would like! For this pattern, we will be making a basic dress, and I will be adding some Ric-Rac to it as a little decoration. It's a great pattern that can be a summer activity for kids. Let's get started and make a dress!

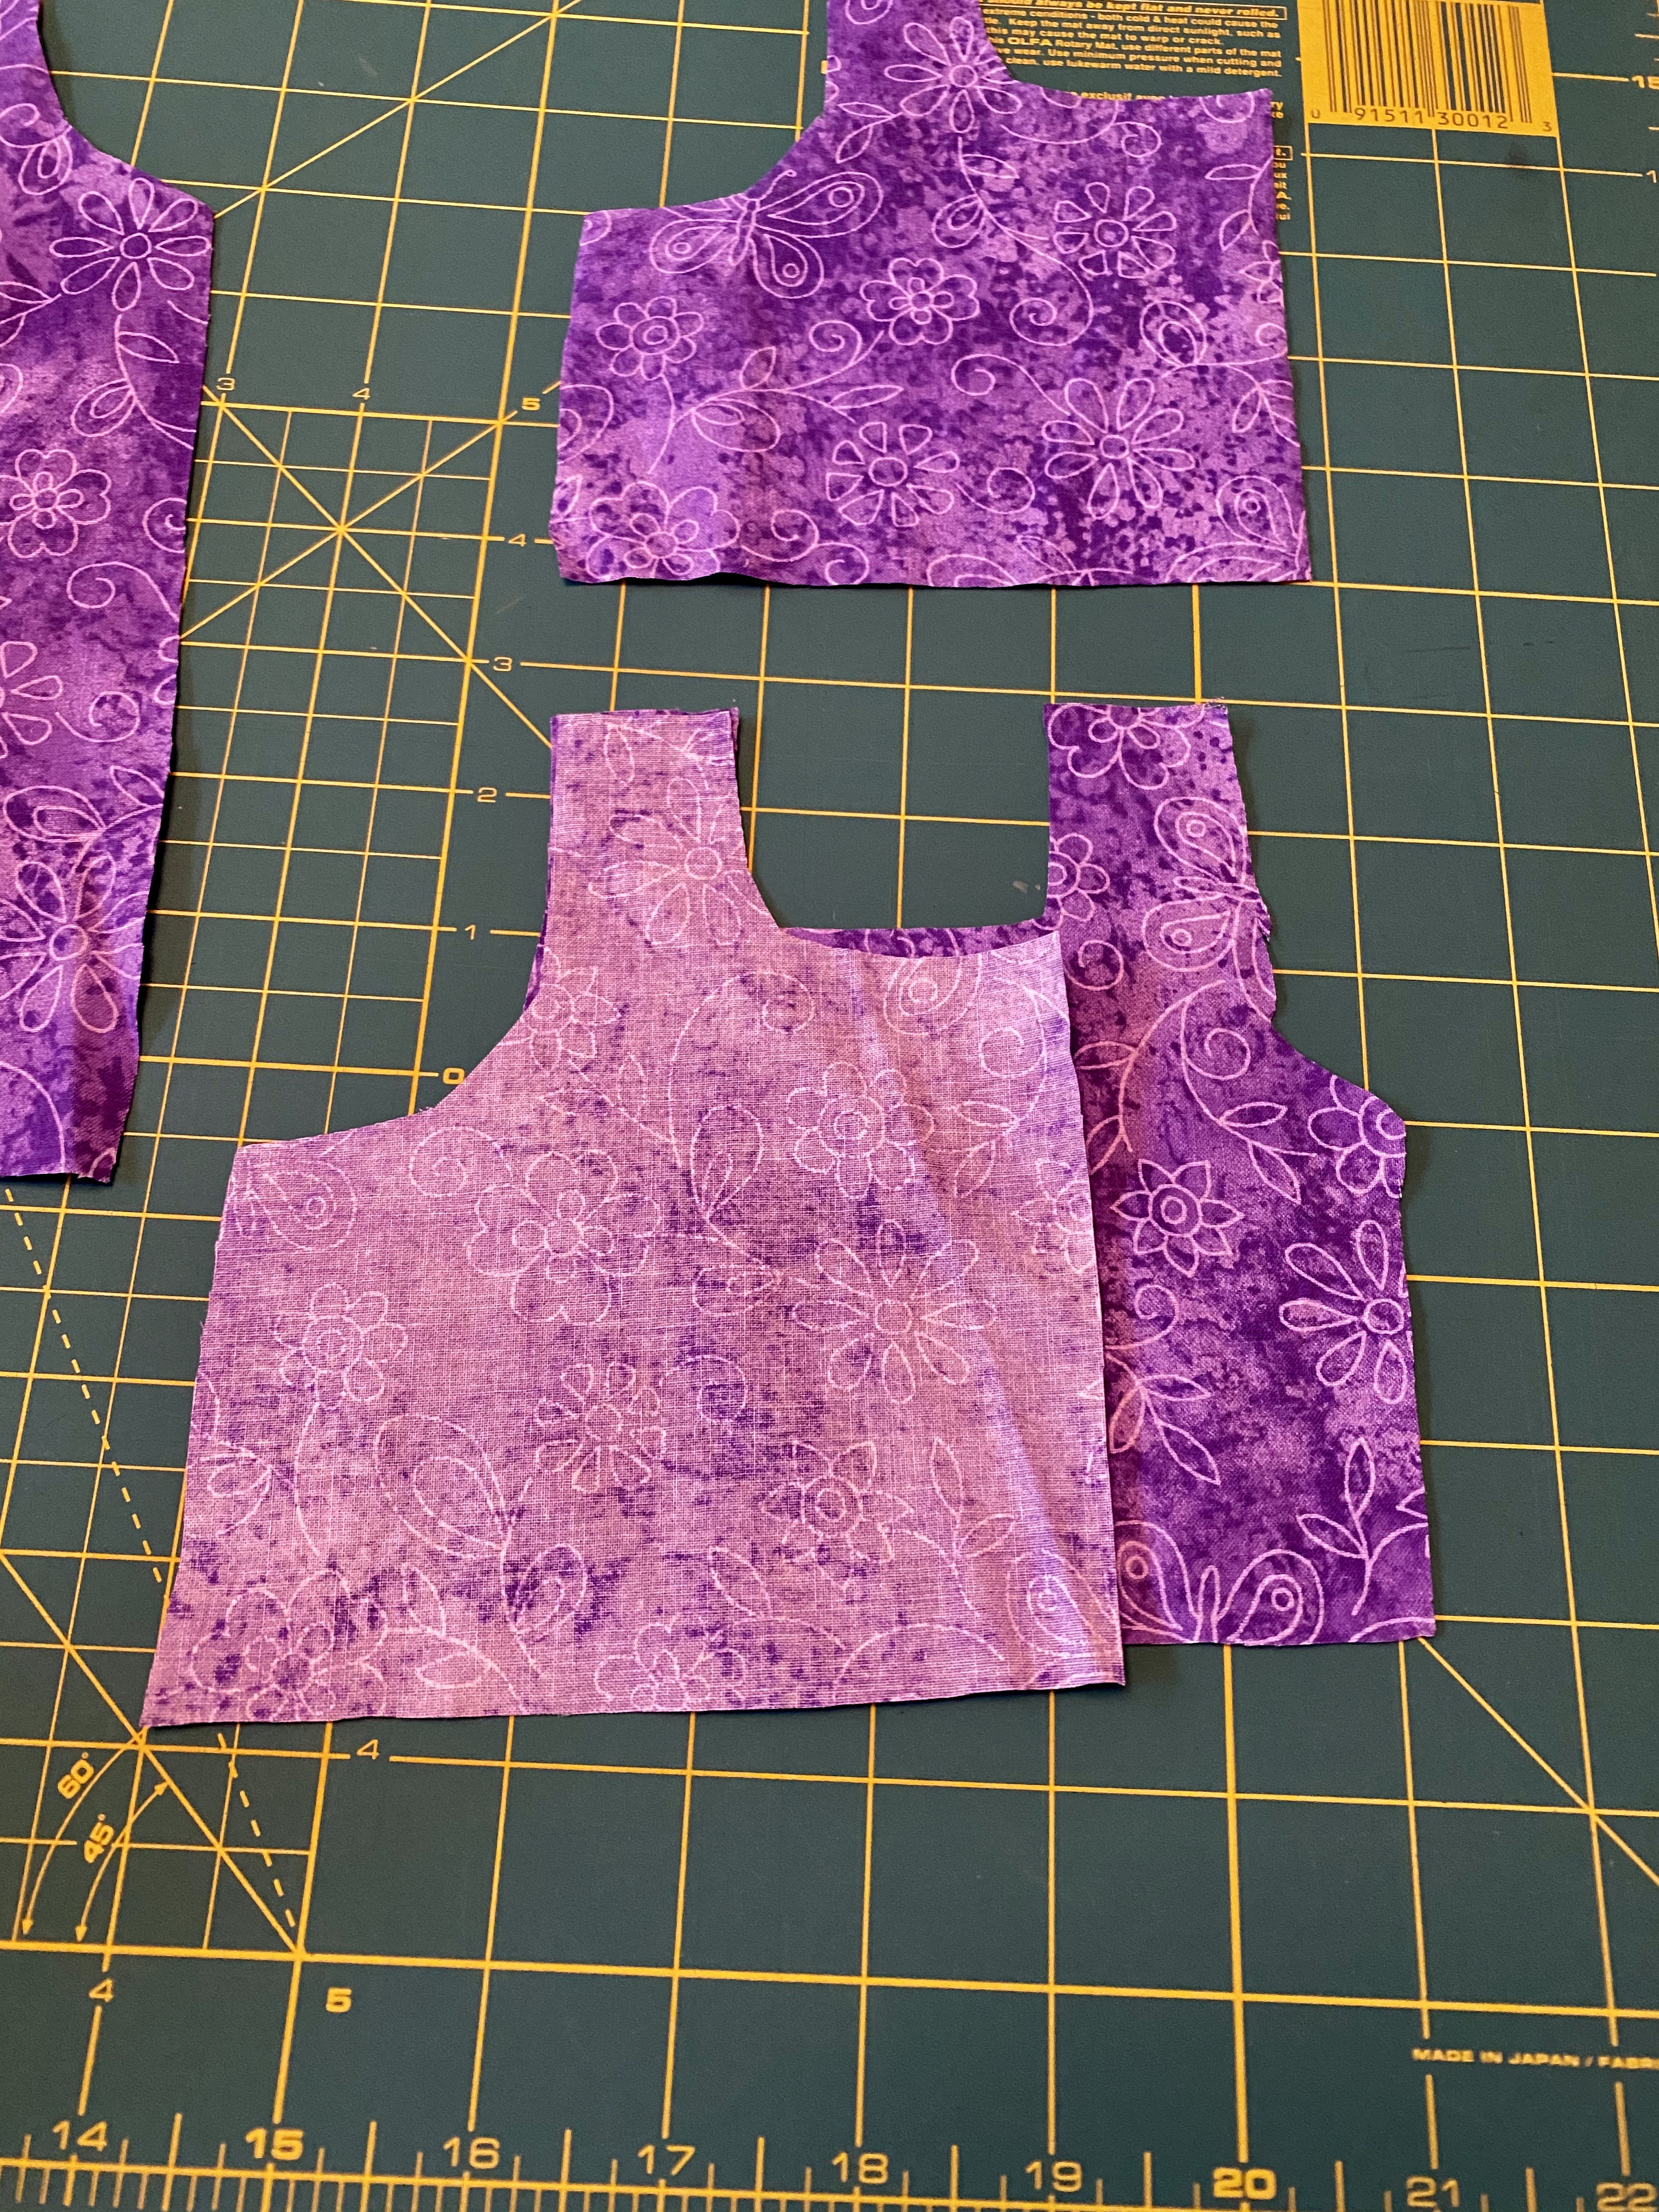
- 1 Piece of Fabric from Pattern Piece A (Outside Front of Dress)
- 2 Piece of Fabric from Pattern Piece B (Outside Back of Dress)
- 1 Piece of Fabric from Pattern Piece C (Yolk for Front of Dress)
- 2 Piece of Fabric from Pattern Piece D (Yolk for Back of Dress)
- 2 pieces of 10 inch Bias Tape*
- Velcro
- Pins
- Iron
- Ironing Board
- Scissors
- Thread
- Sewing Machine
- Optional: Ric-Rac (around 18 inches if using near the hemline of the dress)**
Step 1: Cut out all fabric pieces, bias tape, and the length of Ric-Rac you would like to use.

Step 2: With right sides together, pin the sides of the dress and the yolk. Also, pin the straps of the dress and the yolk. Once it is pinned, sew each seam.


Step 3: Press open the seams.

Step 4: With the right side facing down on the table, fold the fabric about half an inch up and pin along the bottom of the dress and yolk. This will be your hem for both! Once pinned, sew it up!


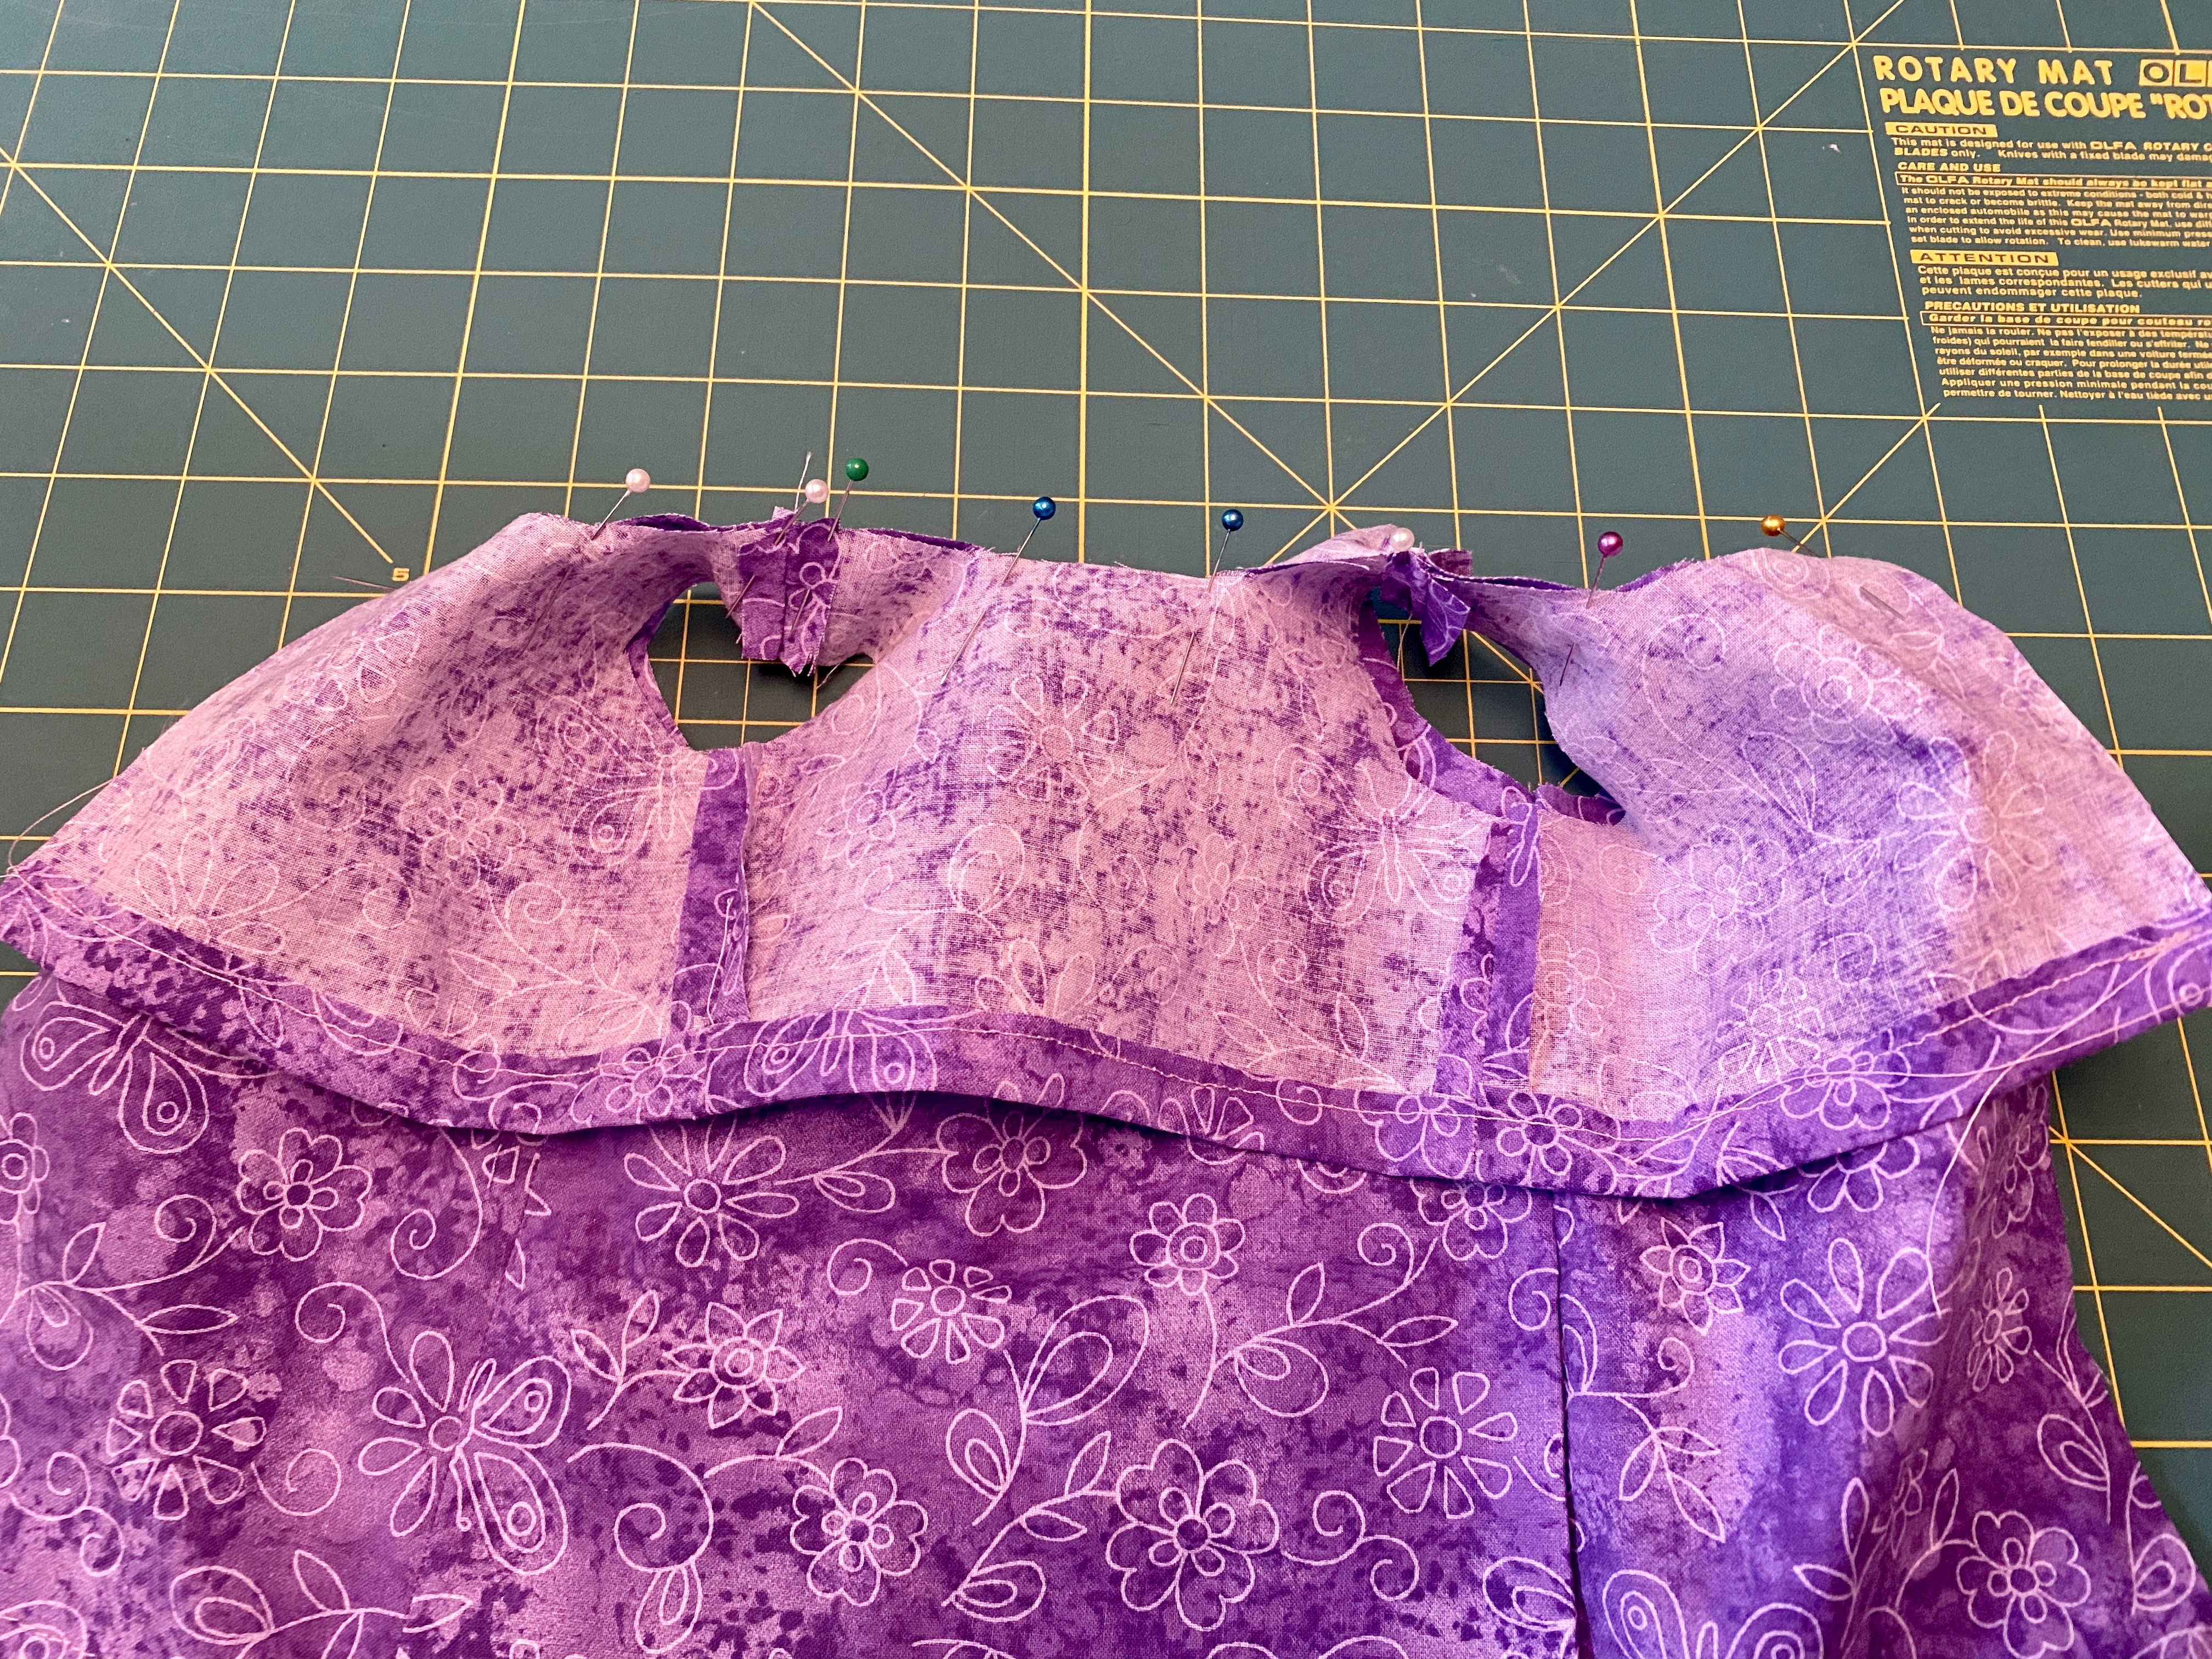
Step 5: Now we will be inserting the yolk into our dress! With right sides together, pin the yolk to the dress, matching up the neckline. Once pinned, sew.

Step 6: Turn right side out, and press the seams either with an iron or with your fingernail. Pin the bias tape around the sleeve opening, so there are no raw edges. Sew it up!


Step 7: Optional: Add Ric-Rac or ribbon at the bottom of the dress if you are using it! Pin it to the dress, and then sew it on.

Step 8: For each piece of the back of the dress, create a hem similar to what was done for the bottom of the dress. The idea is to remove the raw edge. Once it is pinned, sew it up for both sides.

Step 9: With right sides together, pin up the back of the dress up to the yolk, and sew.


Step 10: Attach velcro to the back opening using either sew-on velcro or one with a sticky adhesive. Feel free to sew the velcro either way if you want it extra secure.

Step 11: Enjoy!


**Don't have any Ric-Rac? Use Ribbon instead! Check out Joann Fabrics or Fabric.com for where to buy Ric-Rac!
*Don't have bias tape? Watch our video to learn how to make it!
Pattern Pieces
Cut out using regular 8.5x11 inch paper


Comments
Post a Comment