DIY Book Cover | How to Sew a Book Cover! | Back to School Sewing | Free Book Cover Pattern
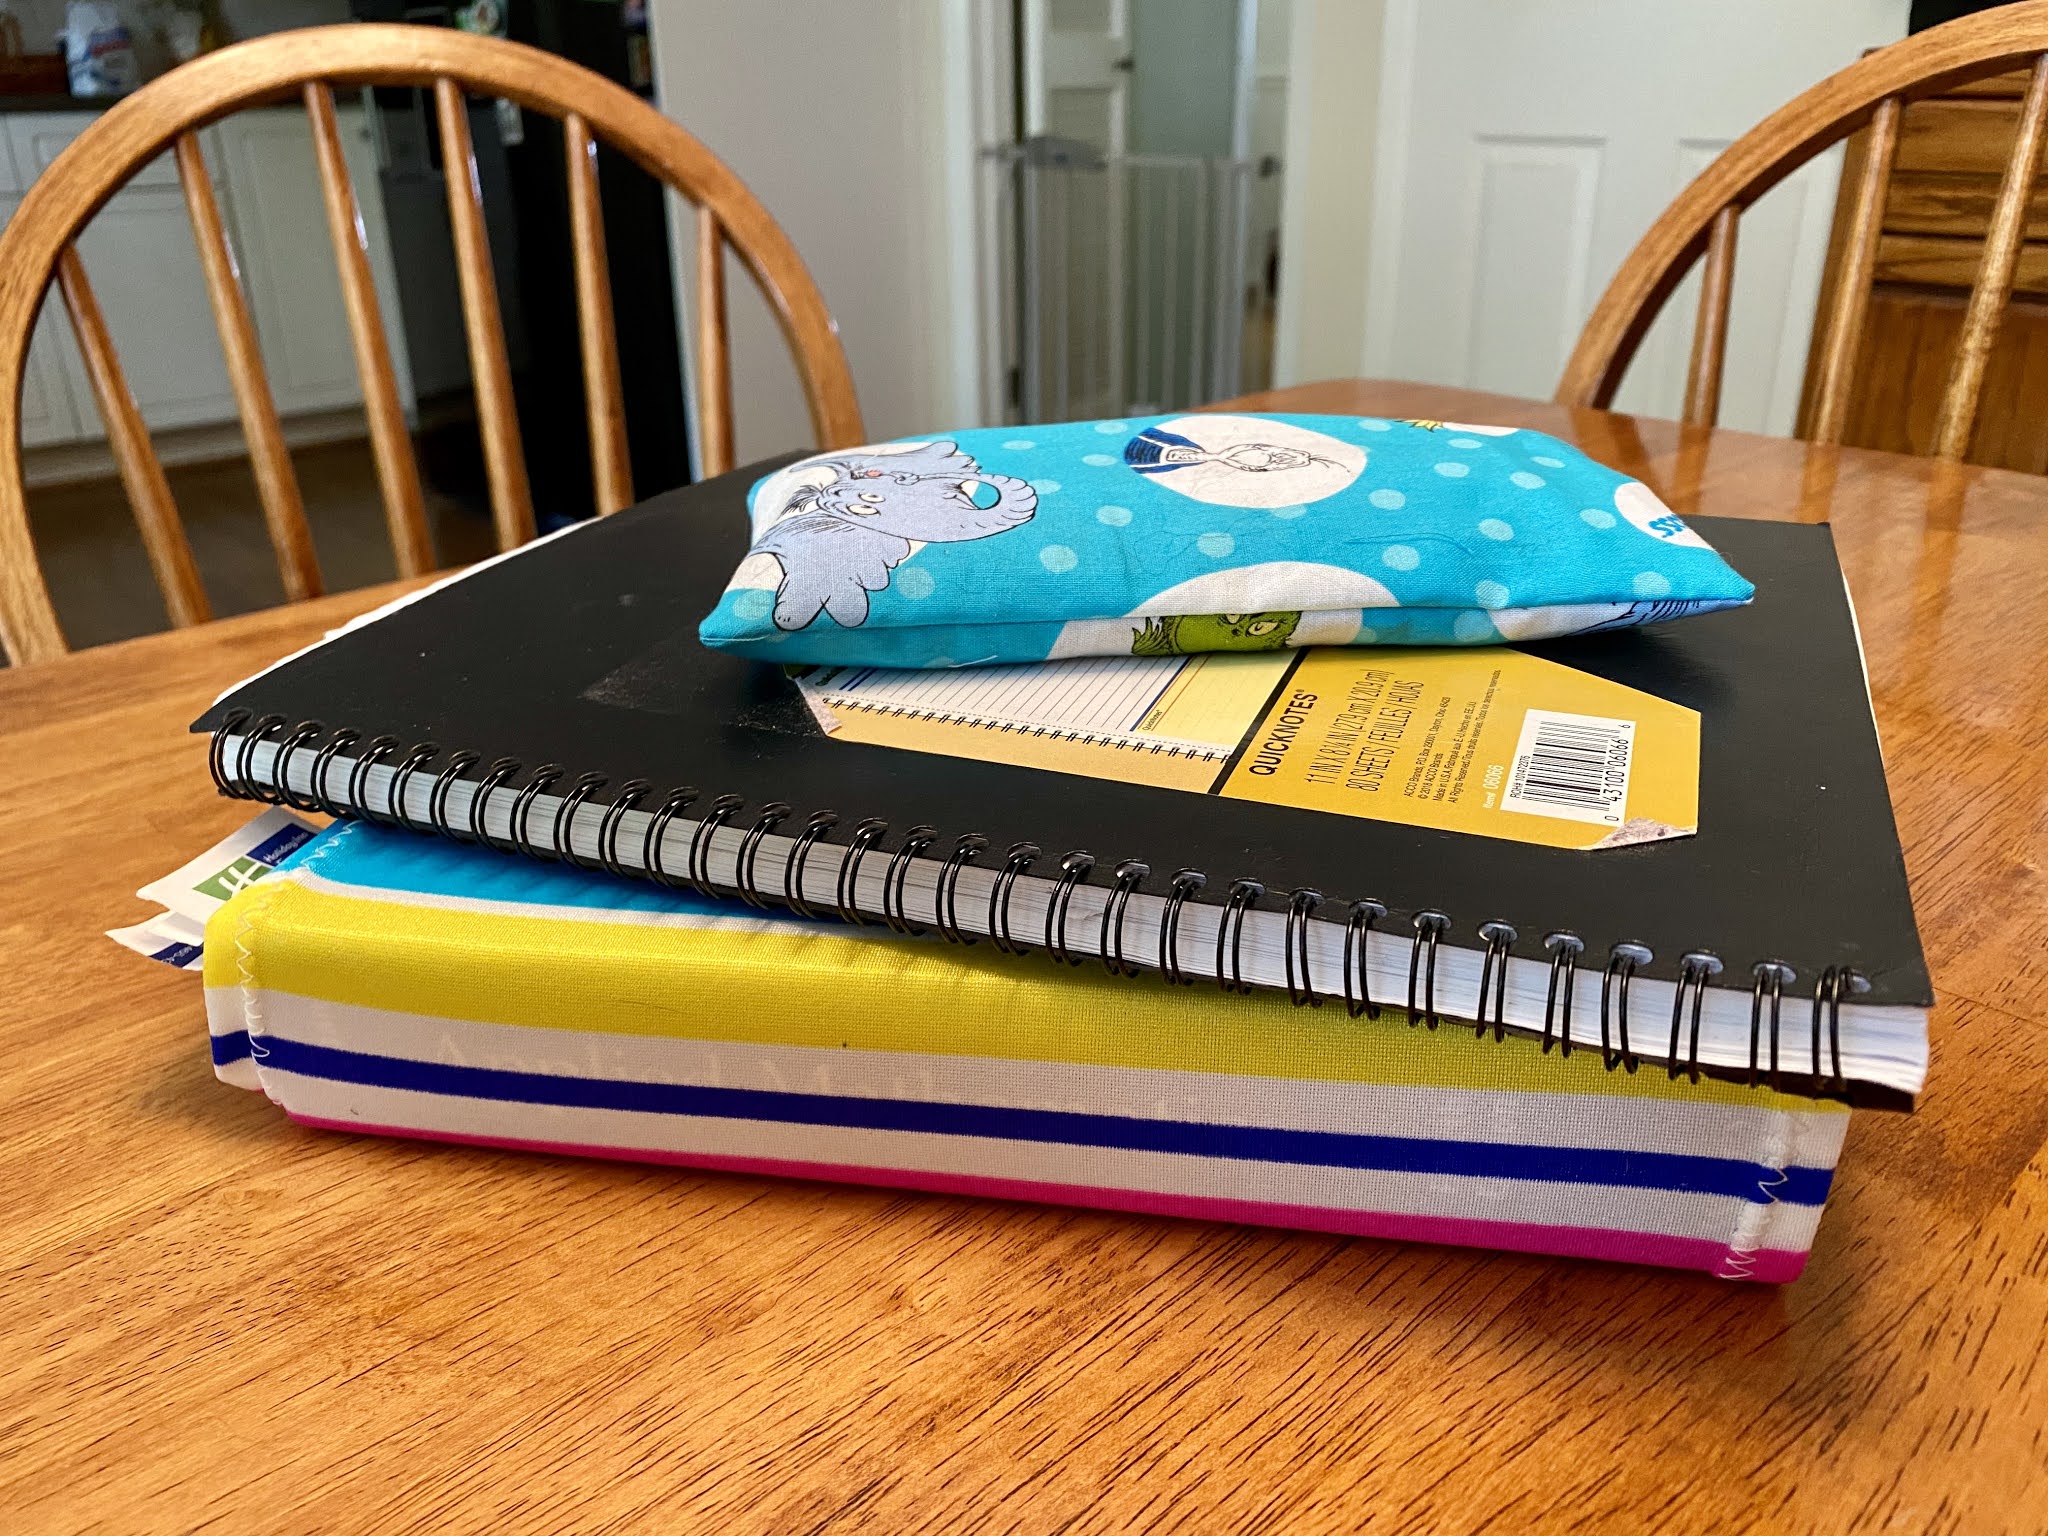
July is almost over now, and it's time to start thinking about going back to school! Some parts of the country will be going back to school in less than a month, so I thought I would share a quick and easy book cover! It is easily scalable to the book you have on hand! It's all up to you! No matter if you are returning back to school in the classroom or virtually, you can be prepared. With that said, let's get started and make a book cover!


Video Instructions
Items Needed

This week, I have linked the items so if you want to buy them when you are reading you can! This is not a promotional thing, just brands and sites that I use for items!
- 1 piece of 19 inch by 11 inch knit fabric (Feel free to make this bigger or smaller to meet your needs)
- Pins
- Scissors
- Sewing Machine
Step 1: Cut out the fabric to the size of your book. To do this, lay the fabric out, and open your book on the fabric. Cut the fabric five inches longer than the book, and two inches taller than the book.

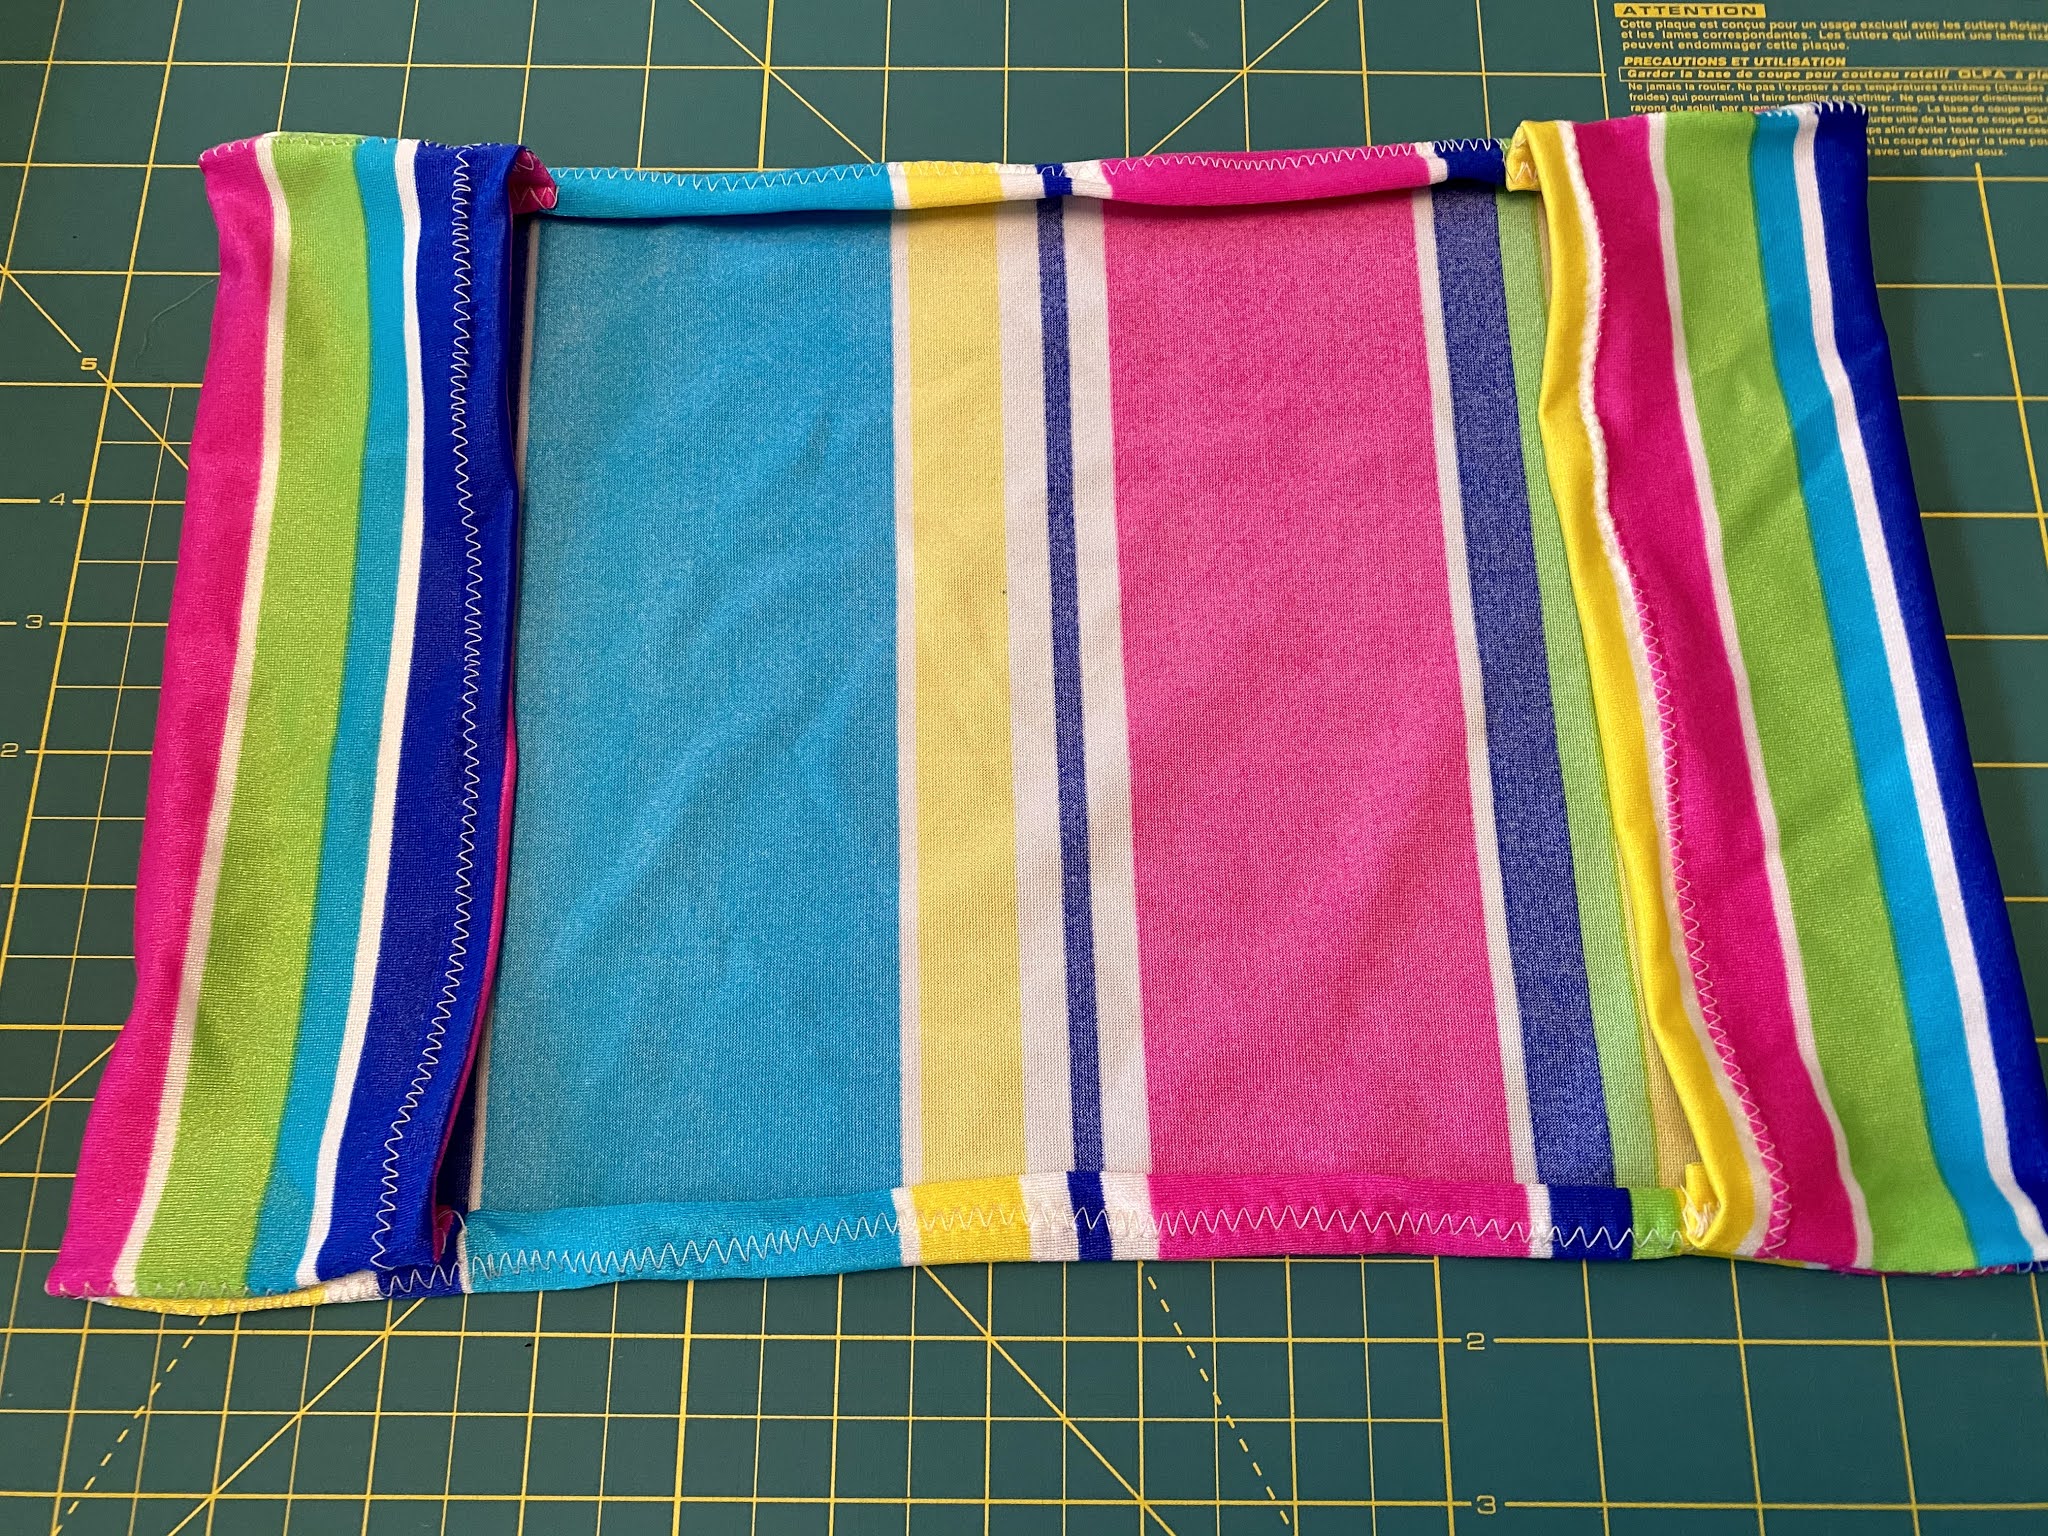
Step 2: With wrong side facing up, create a hem in the top and bottom of the fabric by folding over half an inch, then folding it over again. Repeat this for both edges, and then sew using a zig-zag stitch.


Step 3: With the wrong side still facing up, take a hem on the sides of the fabric. To do this, fold over the fabric half an inch, pin, and then sew using a zig-zag stitch.

Step 4: With the wrong side facing up, fold over the sides so there is a two inch overlap. Pin the top and bottom of the fabric, and sew using a zig-zag stitch. Repeat this for the second pocket.

Step 5: Trim up the fabric, clip the corners, and trim any extra threads. Turn the pockets right side out!
Step 6: Put your book into your book cover and enjoy!


Check out our Facebook, Instagram, and Etsy Shop for more ideas and fun products! Looking for more back to school videos? Check out our YouTube channel!


Comments
Post a Comment