How to Sew on a Curve!
While sewing a straight line is highly useful in sewing, there are actually more times then not when you have to sew on a curve. Sewing on a curve can produce some challenges if not handled correct, and in this blog post we will walk you through how to set yourself up for success in sewing on a curve to include the prep, actual sewing, and how to finish it off! Want these tips in a video instead? Check out the video below!
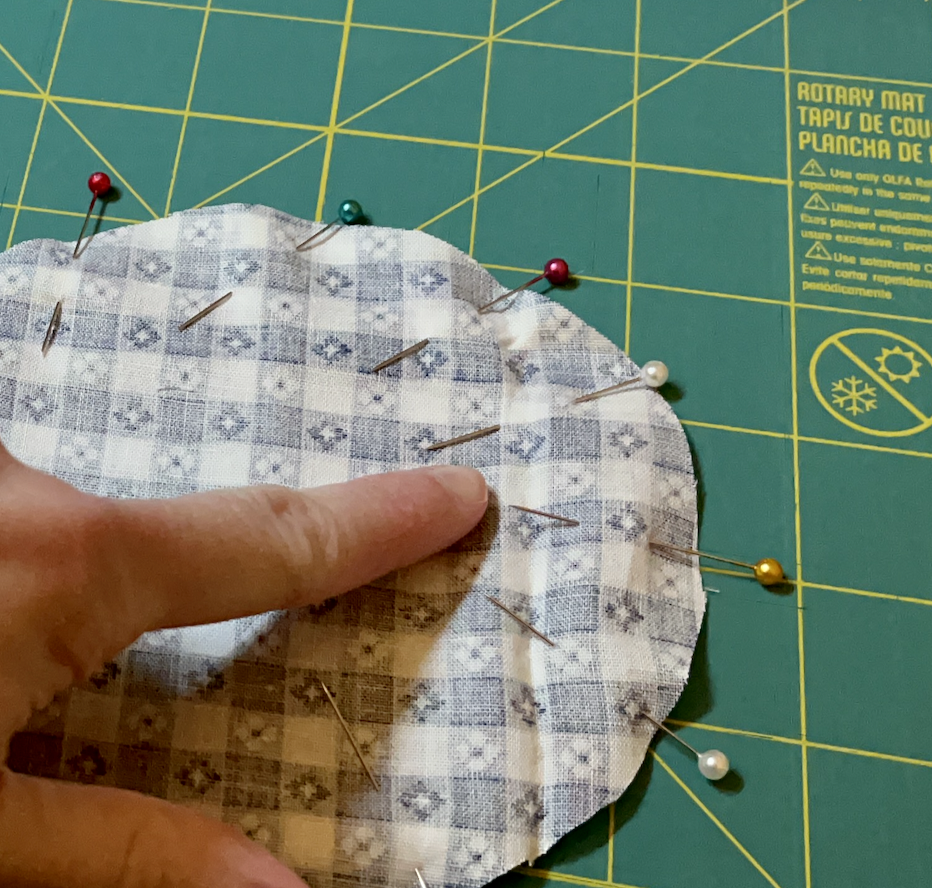
- Pin up your fabric carefully! Do not try to sew the curves without pinning or clipping to hold the fabric in place.
- As you sew, you will need to gently guide the fabric. Think of this as using one hand to hold your fabric in place (your left hand), and your right hand is lining the edges of your fabric along the edge of the presser foot.
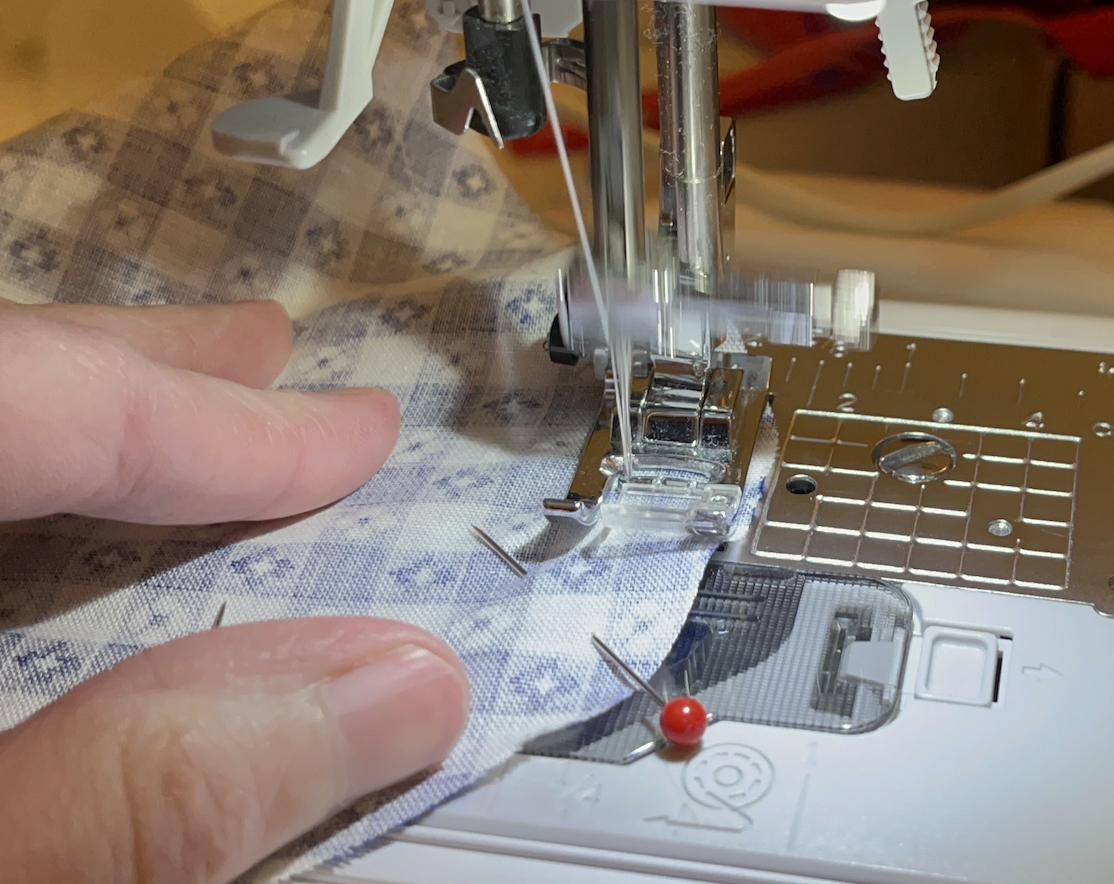
- While sewing the fabric, use your fingers to ease any excess fabric or wrinkles. You may need to start and stop the seam to make sure the fabric is smooth.

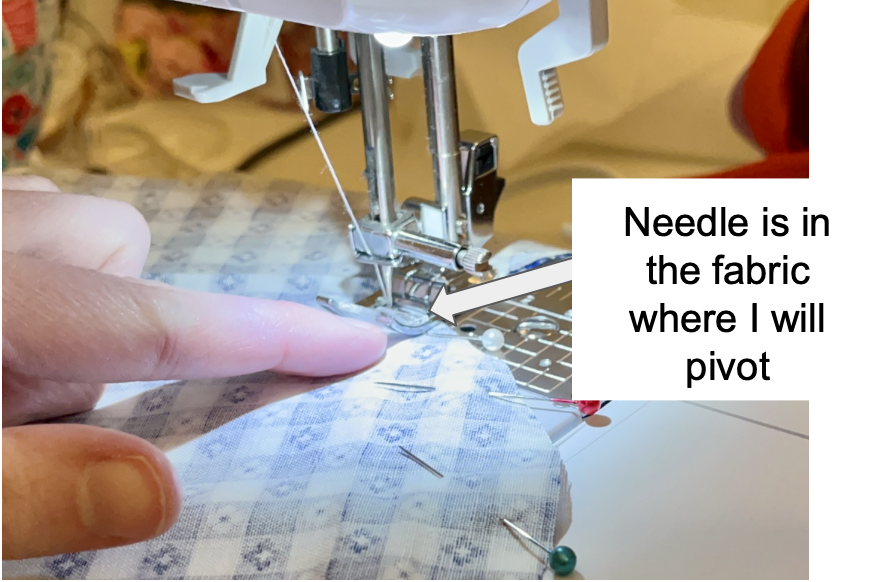
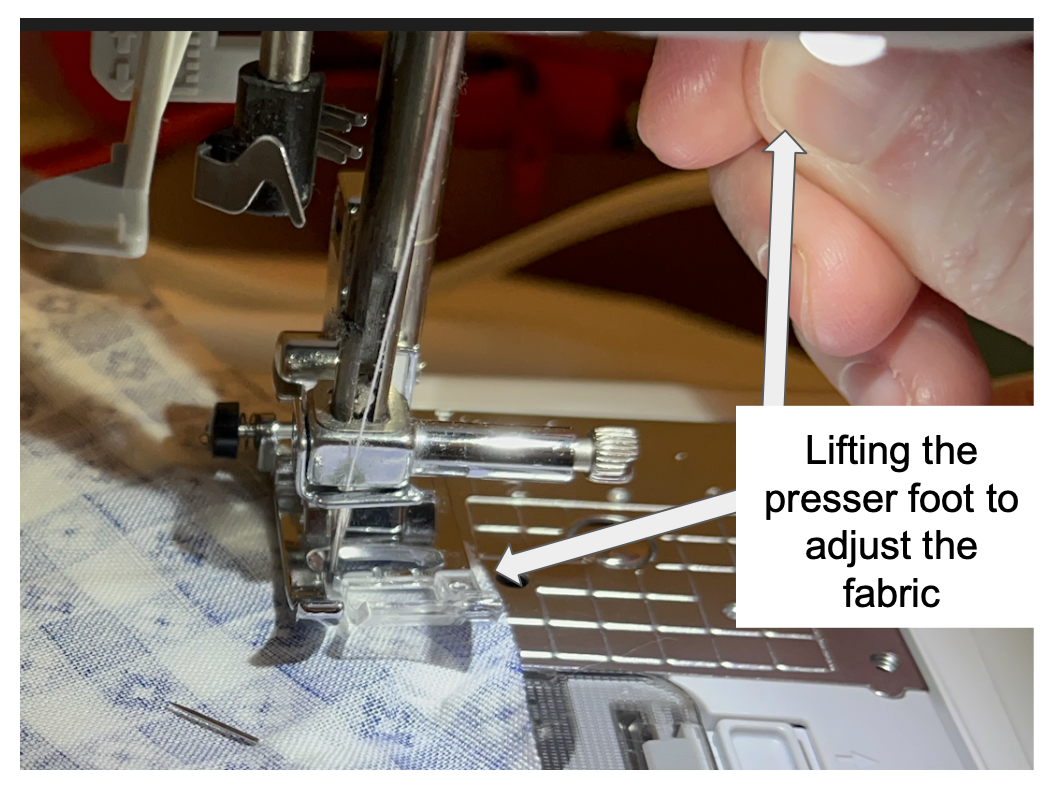
- Pivot as needed. When you reach the end of the curve and your curve goes the other direction (how it will with the two curves of the heart), be sure to put your needle into the fabric, lift the presser foot, rotate the fabric, lower the presser foot and continue sewing!
- After sewing, be sure to clip the curves and trim any notches. When we are sewing curves you have curves that go in and then curves that go out. For curves that go in, we need to clip the curves. This allows the fabric to stretch so when the curve is formed it lays smooth. For curves that go out, we want to create notches as on the inside the seam will bunch up. Creating notches will allow it to lay flat.


Looking for sewing supplies? Check out my Amazon Storefront! This is an affiliate link so thank you for supporting me if you choose to purchase something from the link!


Comments
Post a Comment