DIY Apple Watch Band | How to Sew a Scrunchie Watch Band | Scrunchie Apple Watch Band
I love my Apple Watch. I wear it all the time and I love changing the bands on it! When I learned I could make my own...well I was very excited! I have seen people wear the scrunchie bands before, and that's when I decided that I had to make my own. Now I'm going to share with you so you can make your own watch band too! It's fun, easy, and you can easily customize your watch to your style!


Items Needed
This week, I have linked the items so if you want to buy them when you are reading you can! This post contains affiliate links through Amazon, if you do choose to shop through these links, thank you in supporting me!
- Apple Watchband Clasp(Be sure to check the size of your watch. Mine is 38mm)
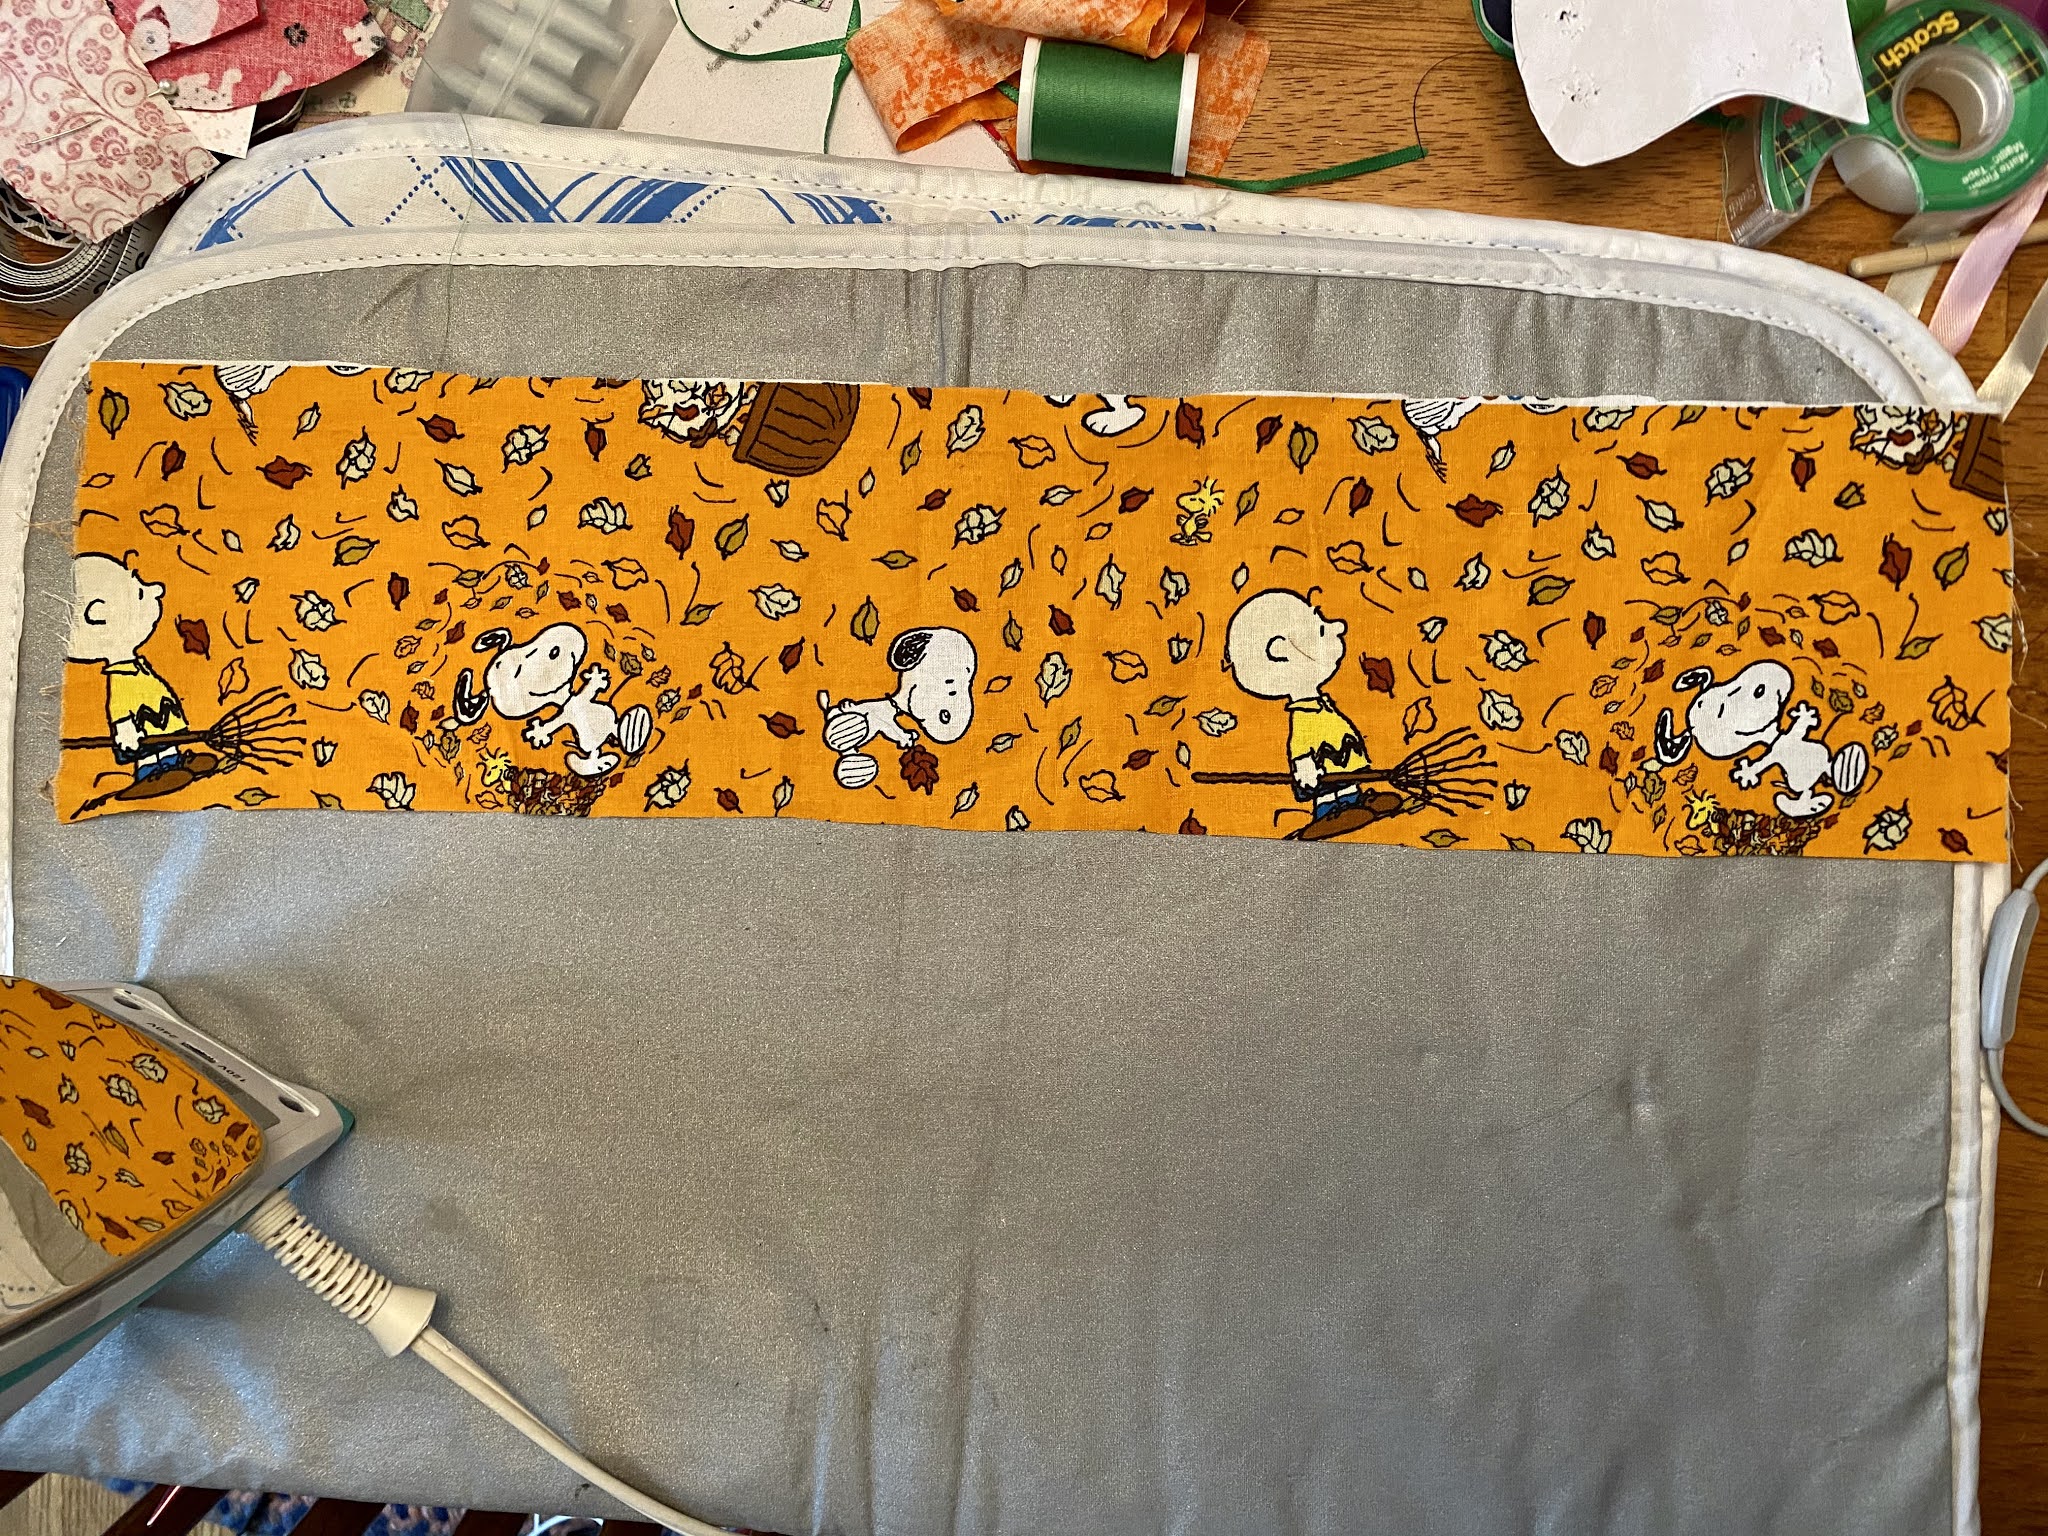
- 1 piece of 19 inch by 4 inch fabric (Feel free to make this bigger or smaller to meet your needs)
- 1 piece of 1/4 inch Elastic that is 6 inches long, if you have a larger wrist you could make it 7 to 8 inches long
- Tape Measure Soft Tape Measure Double Scale Body Sewing Flexible Ruler for Weight Loss Medical Body Measurement Sewing Tailor Craft Vinyl Ruler, Has Centimetre Scale on Reverse Side 60-inch(White)
- Pins
- Scissors
- Sewing Machine
Step 1: Cut out the fabric and the elastic.
Step 2: Fold the fabric in half hot dog style so right sides are together, pin, and take a straight seam up the fabric.


Step 3: Flip the fabric right side out. Guide the elastic through the fabric using a safety pin. It may be easier to pin one end of the elastic to one end of the fabric so it stays in place.


Step 4: Fold one end of the fabric in on itself so you can take a seam in the end with the elastic end between the two pieces of fabric. Pin, and then sew. Repeat for the second side, so you end up with what would look like a flat scrunchie.


Step 5: Loop the fabric through the end of the Apple Watch band connector. Pin, and sew the end. Repeat with the second side. Enjoy the fall ambiance with the shade!!


Step 6: Attach your watch band to your watch!


Comments
Post a Comment